back
to the Bitter Creek Divide Page
1
|
2
|
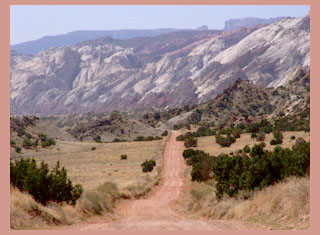
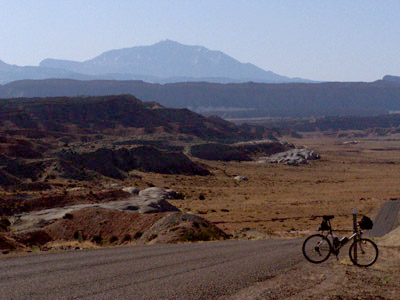
Bicycling
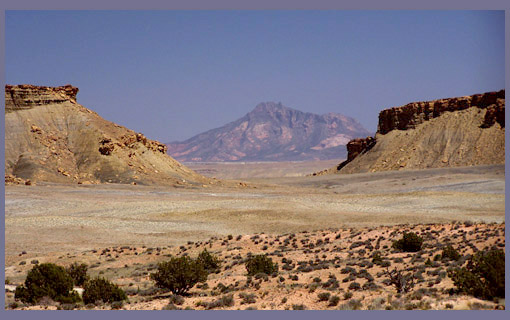
the Bitter Creek Divide
Picture locations are given in terms of
orientation points on the elevation profile,
where points 1-5 are the northern approach and
11-5 the southern approach
pic1
|
6-7
|
pic7
|
5-6
|
pic2
|
3-4
|
pic8
|
1-2
|
pic3
|
6-7
|
pic9
|
3-4
|
pic4
|
6-7
|
pic10
|
4-5
|
pic5
|
6-7
|
pic11
|
6-7
|
pic6
|
3-4
|
|
|
|
3
|
|
4,5,6
|
10
|
11
|
|
|